FAQs
Affinity Stone wasn’t built to be ordinary — or to be just another product on a shelf. Every piece of our Affinity Stone veneer line and column kits were designed to be beautiful and to make installing stone veneer easier. Discover more about what sets our product apart and see our 8 most common FAQs.
From a style standpoint, Affinity Stone panels are meant to look more realistic, more natural, and all-around more beautiful. This all starts with the arrangement of the stones in the panels so that they look like organic stone, rather than an obvious man-made pattern. On top of that, our colors are bold, yet natural — see our veneer color options right here! When it comes to installing stone veneer, Affinity is designed to save time on the jobsite and to prevent headaches. The precise installation saves approximately 80% of the time needed to install traditional mortared stone siding!
Over the last few years of crafting and selling Affinity Stone, we’ve had countless conversations with contractors, store owners, and even homeowners about our product. These are the 8 most common questions that we hear about putting up stone veneer.
Compared to other leading stone veneer brands, Affinity excels when installed in both the exterior and the interior corners of a home. Our specially designed corner panels are very similar to all other panels, with the exception that they feature a finished textured edge. This allows the corner pieces to look identical to the standard pieces in regards to both geometry and style. Plus, our panels tend to be thicker than the competition, giving the corners a more substantial look.
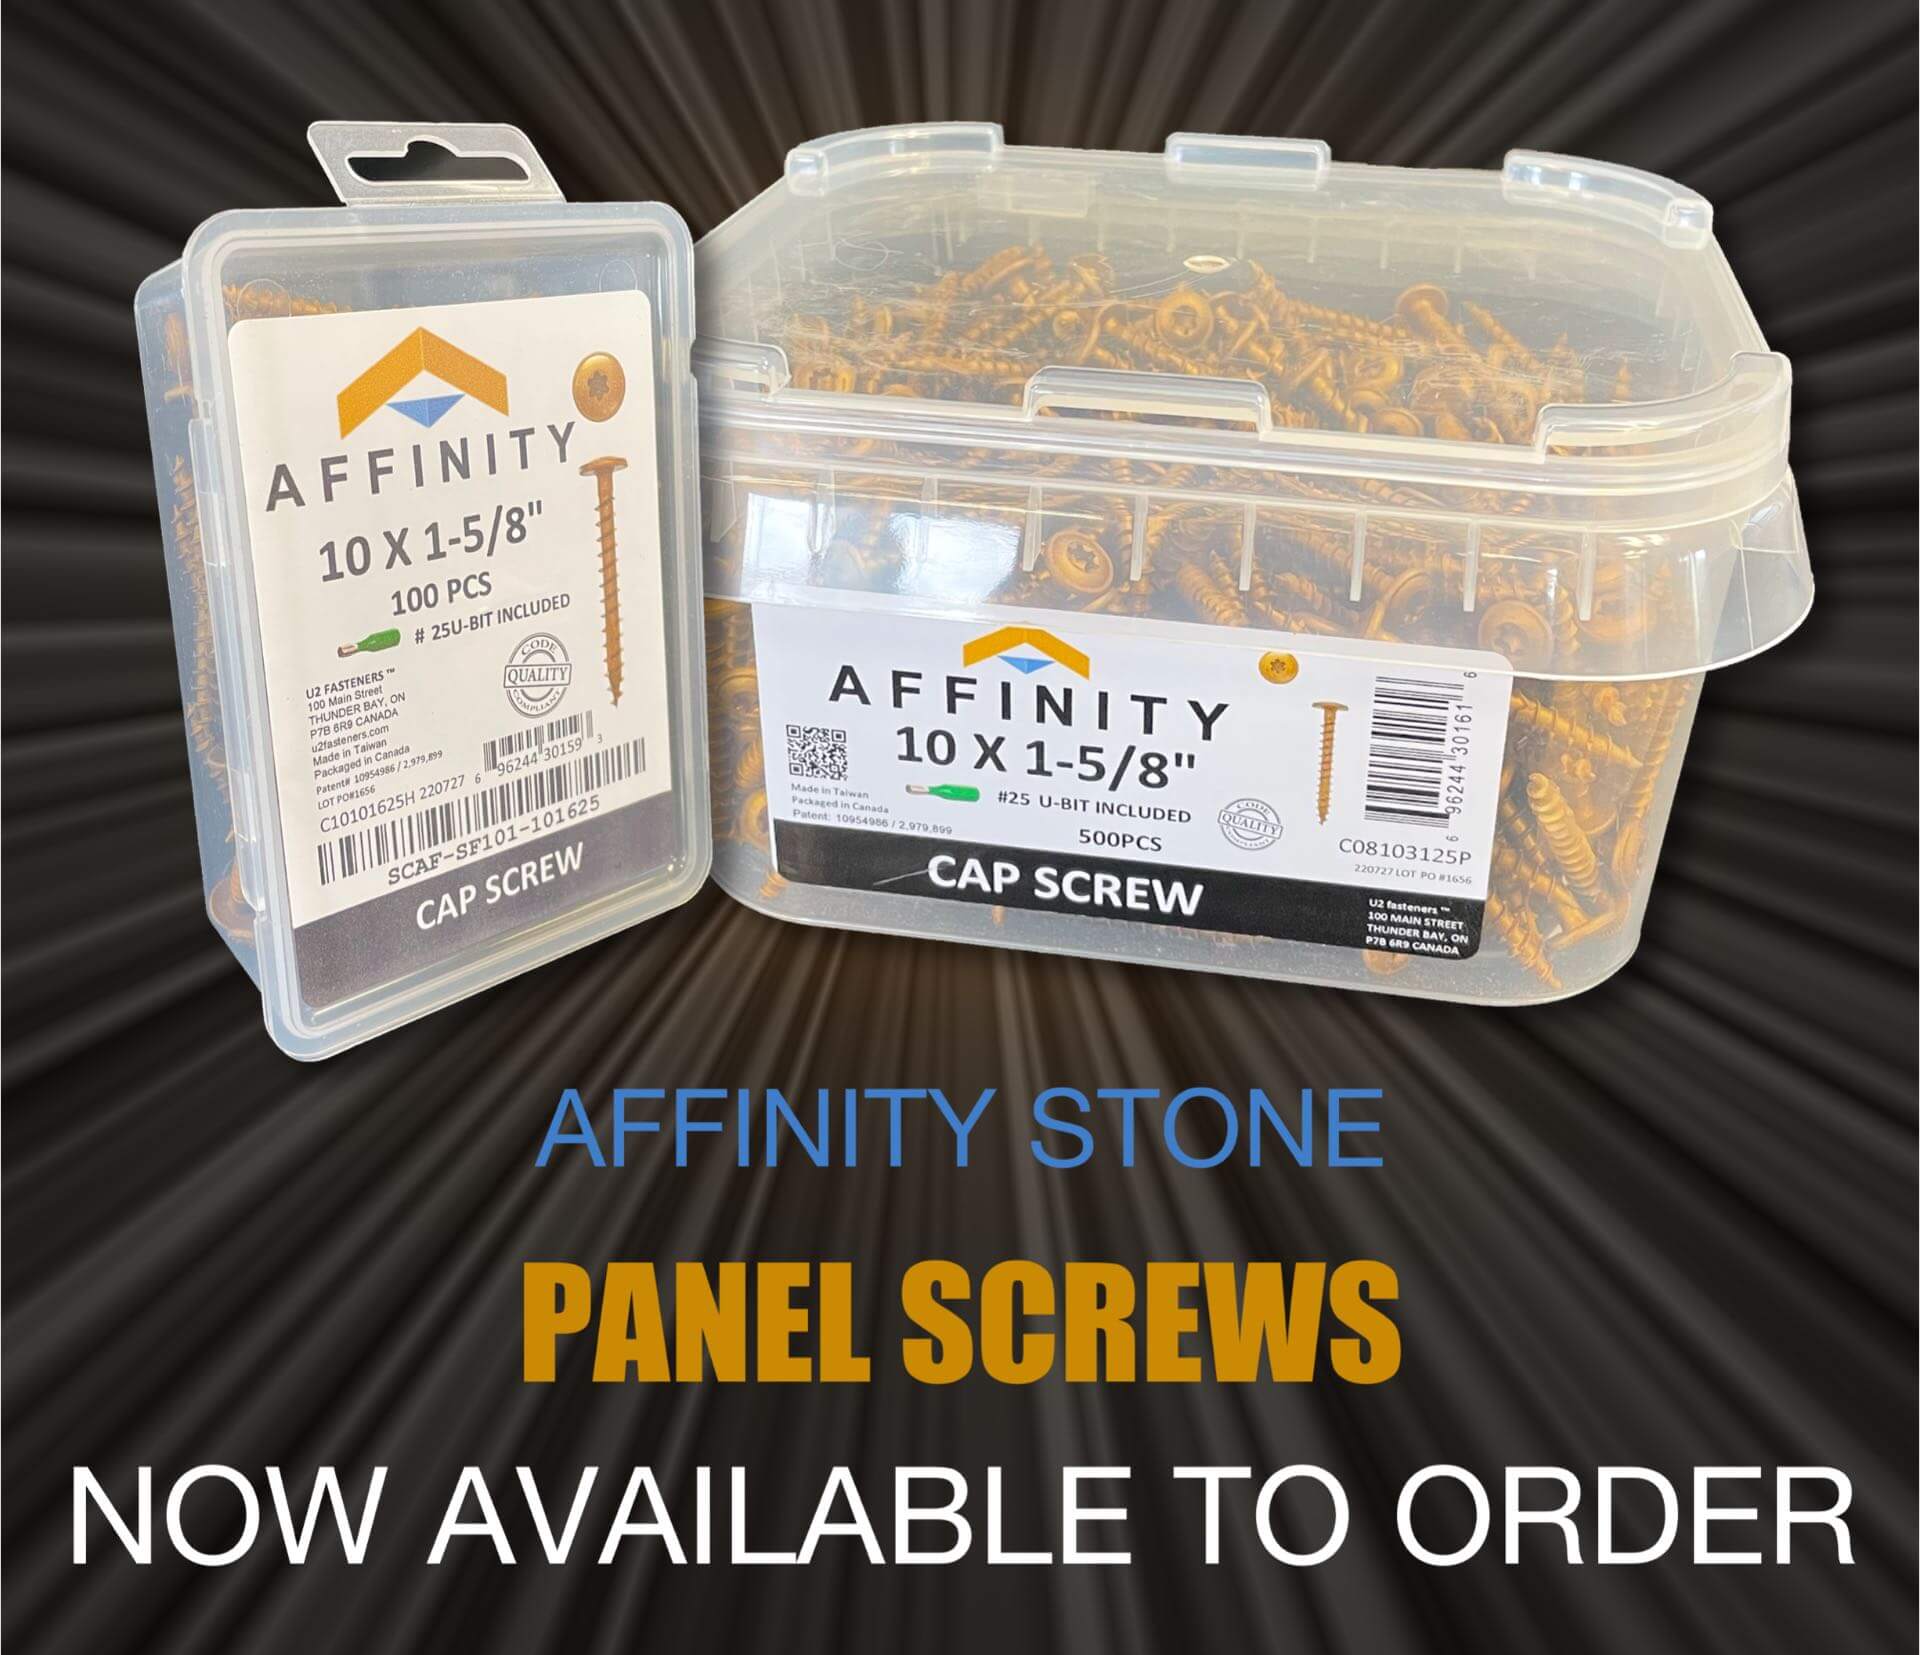
In some cases when installing a panel under a soffit or a window, you may need to cut off the built-in nailing strip. That is not a problem at all. Like we said, we’re all about making putting up stone veneer easier! Using a 3/16” masonry drill bit to pilot through the panel is the standard recommendation.
In order to compensate, all you need to do is install the panels underneath it normally and then cut the highest panel to fit under the window. You’ll then screw the panel in place. We recommend you slide the cut panel in from the side to fit under the wainscot cap and then face-drill the panel in place.
Since vinyl siding is one of the most common home siding materials, it was crucial that our veneer matched it well. When installing stone veneer against vinyl siding, you can use a transitional material. Our Affinity Stone metal edge trim is the most popular choice; however, you can use two layers of Azek for trim and terminate our stone panel into the Azek.
The distance between the panels and the ground is an important thing to keep in mind when putting up stone veneer. You cannot install our veneer (or any of our competitors’ products) below grade. We recommend installing our stone veneer four inches above grade for installation over grass or mulch — and a quarter or half an inch above a patio.
Every piece of Affinity manufactured stone is crafted with a half-inch rain screen, which allows any water that would get behind it to drain out the bottom. That’s why you only need a single layer of vapor barrier and you’ll be good!
No sealing of any kind is needed — thanks to our built-in rain screen. This is another way that our innovations make putting up our stone veneer easy and headache-free.
Just like with outside corners, we have a solution for installing on inside corners that looks natural. You simply need to have one side of the veneer terminate into the wall, while the perpendicular panels terminate into the first panel. If you want to, you can then do some nipping and tucking with a grinder to clean up the look even further.
If you’re considering bringing our manufactured stone veneer to your store, your upcoming projects, or your home, we appreciate the opportunity to be your trusted veneer panel partner! If you have any other questions about installing stone veneer that we didn’t cover here or you want additional details about any of these frequently asked questions, we encourage you to reach out to our team using the form at the bottom of this website.
If you’re ready to start shopping, find the nearest store that carries Affinity Stone right here!
Find a Supplier Near You